Week 9: Networking Part I
Finding Common Ground
This week, we were tasked with successfully getting two microcontrollers to talk to each other, which could be achieved via wiring or radio. I was fortunate enough to have two functional ItsyBitsy boards, so I used these to complete my project.
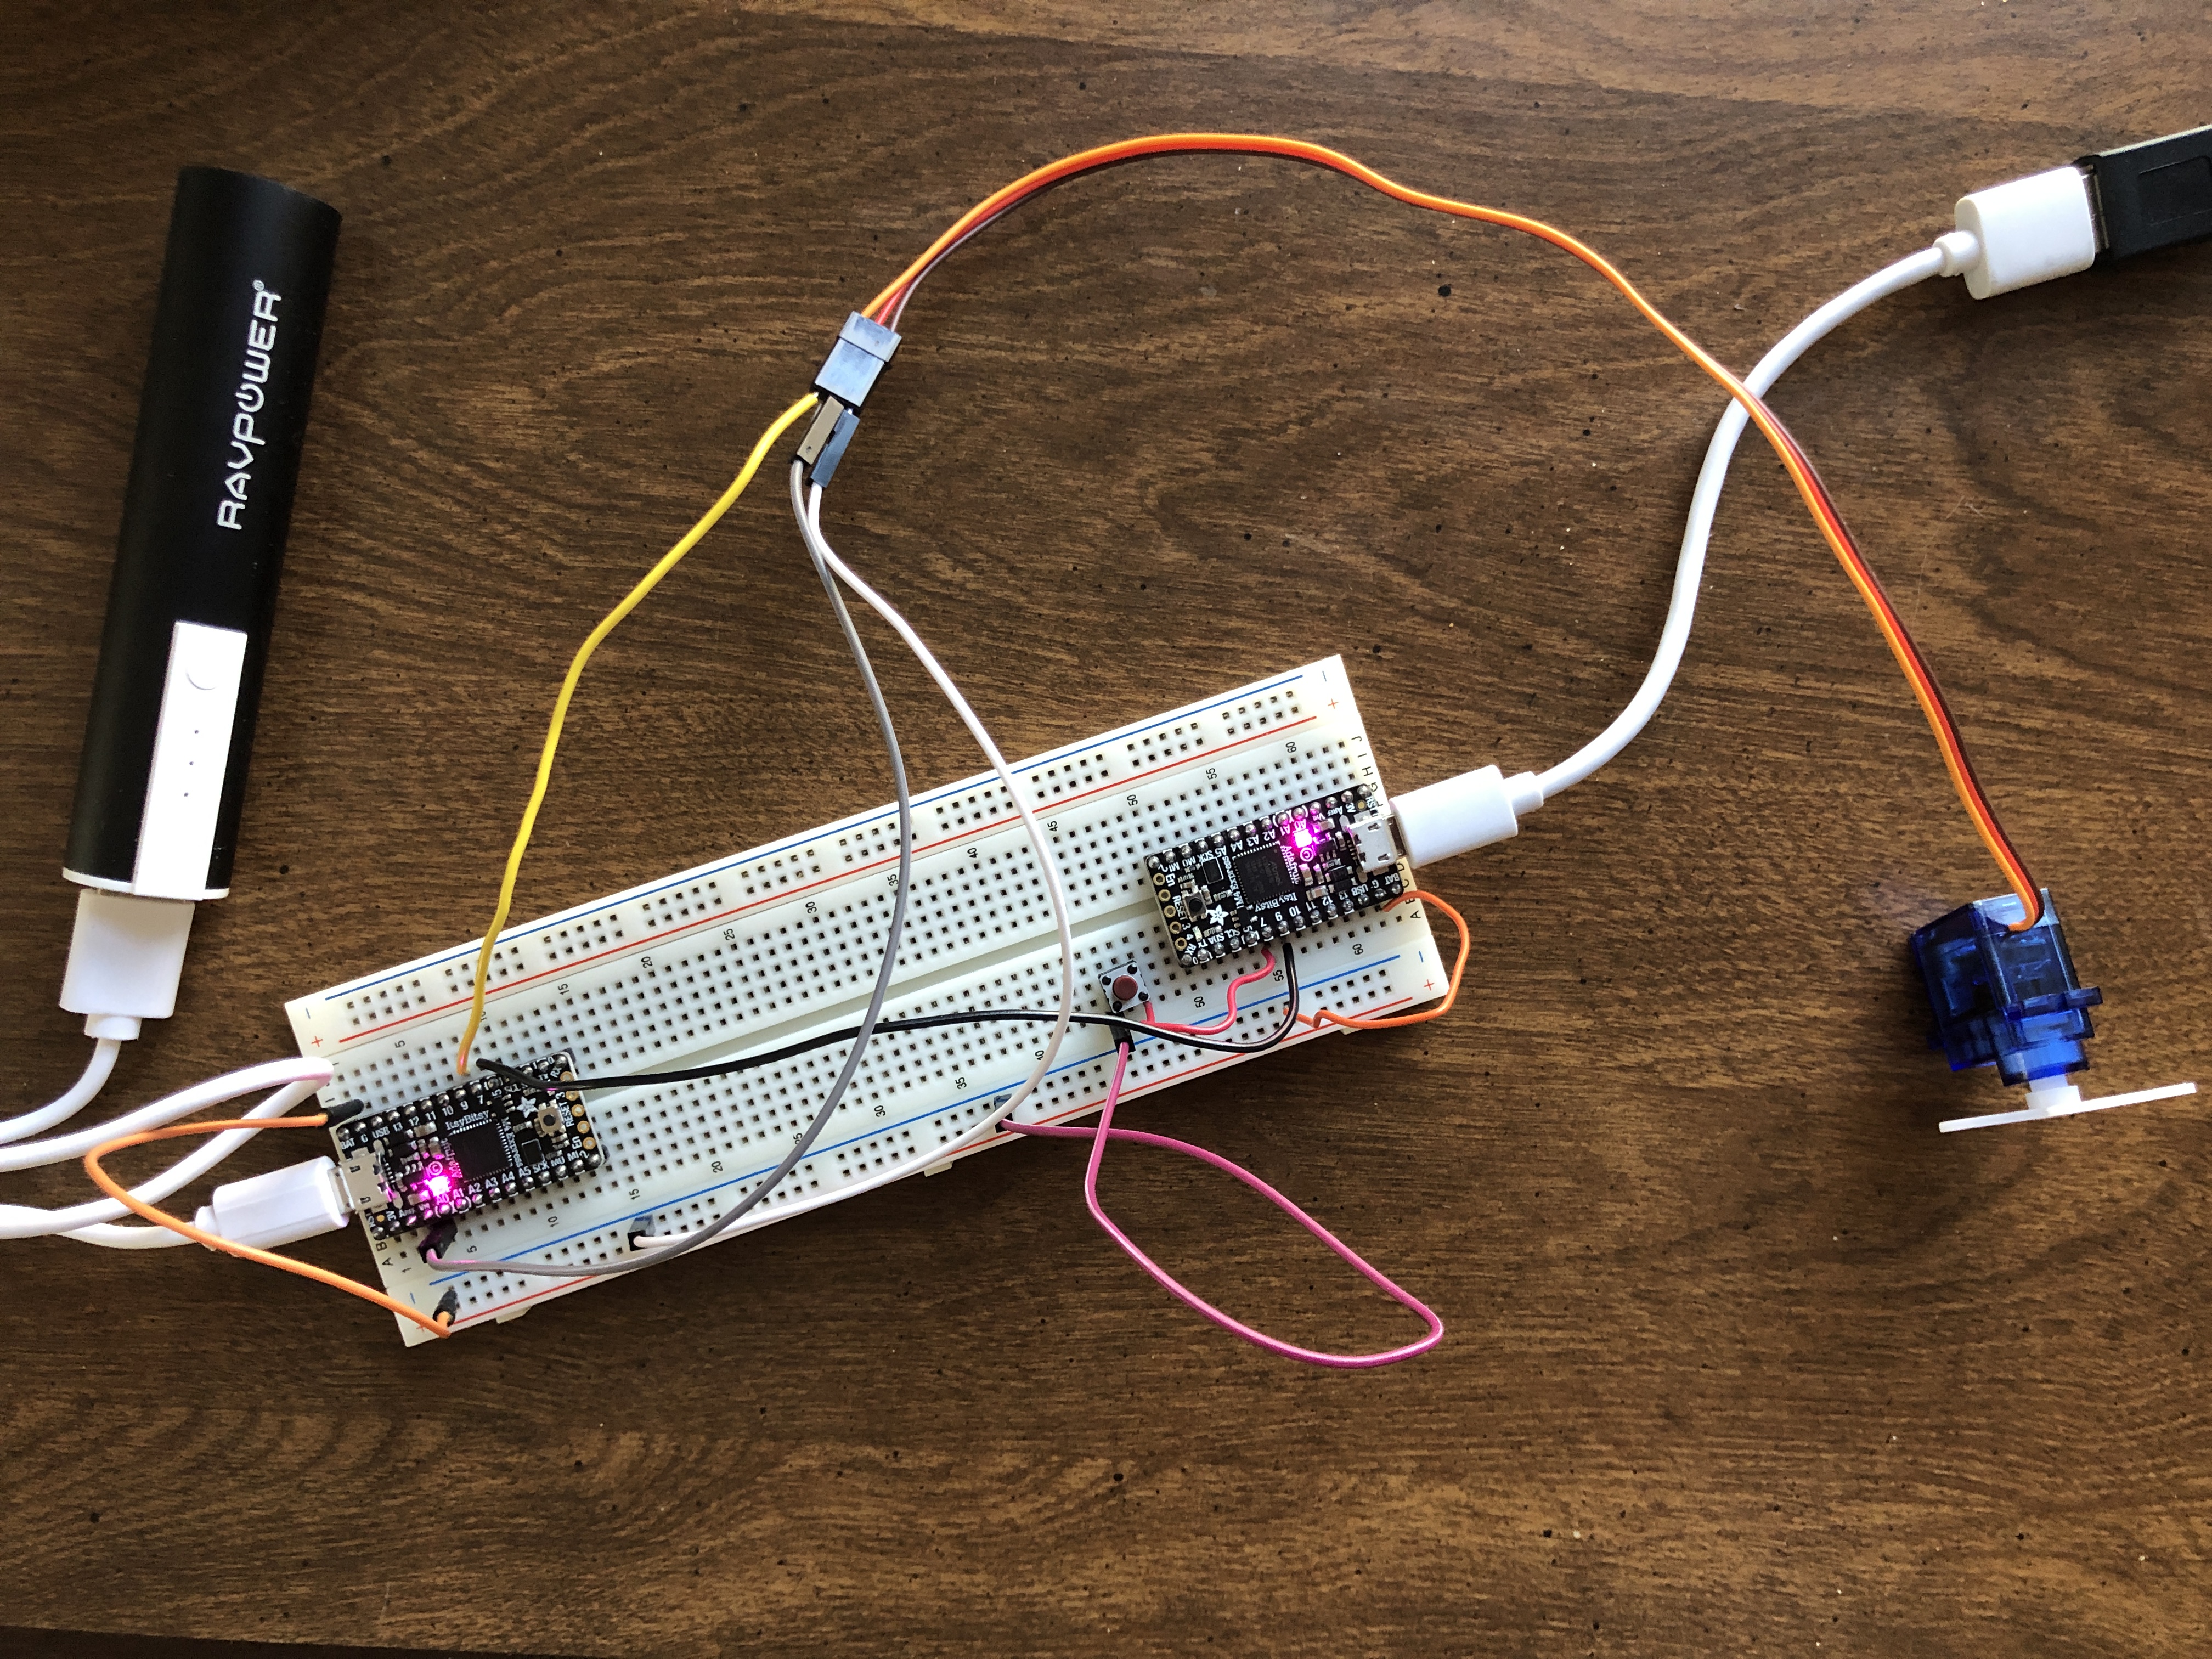
I began my process by working through the literature and trying the different tutorials made available by the teaching team. Pictured at the right, I first enabled the turning of a servo motor connected to the receiving board by simply pressing a button, which was wired to the transmitting board. I followed this up by introducing the second tutorial, which uses universal asynchronous receiver-transmitter (UART) to communicate by serial protocol. The transmitter board sends bytes of data via the TX pin to the receiving board on its RX pin, which, in this case, sent a rescaled value from the potentiometer to the myservo.write() function to specify its degree of rotation.
With these up and running, I was inspired to create some sort of combination of the two, which could result in both fine control of the servo, which the potentiometer affords, and the flinging excitement of pressing the button. And what better context in which to celebrate these functions than with... a mini catapult! So, that is what I set out to do. I've included below the tools and materials I used to create this project.
- Parts List
- Servo Motor with attachments
- Potentiometer
- Male-male solid core wire
- 2 Microcontrollers: I used Adafruit ItsyBitsys
- 2 Micro-USB to USB-A Cables
- 5V Powerbank
- Breadboard
- Tin foil and tape (or whatever you can find)
- Peas! Or other ammo!
Flingin' Peas
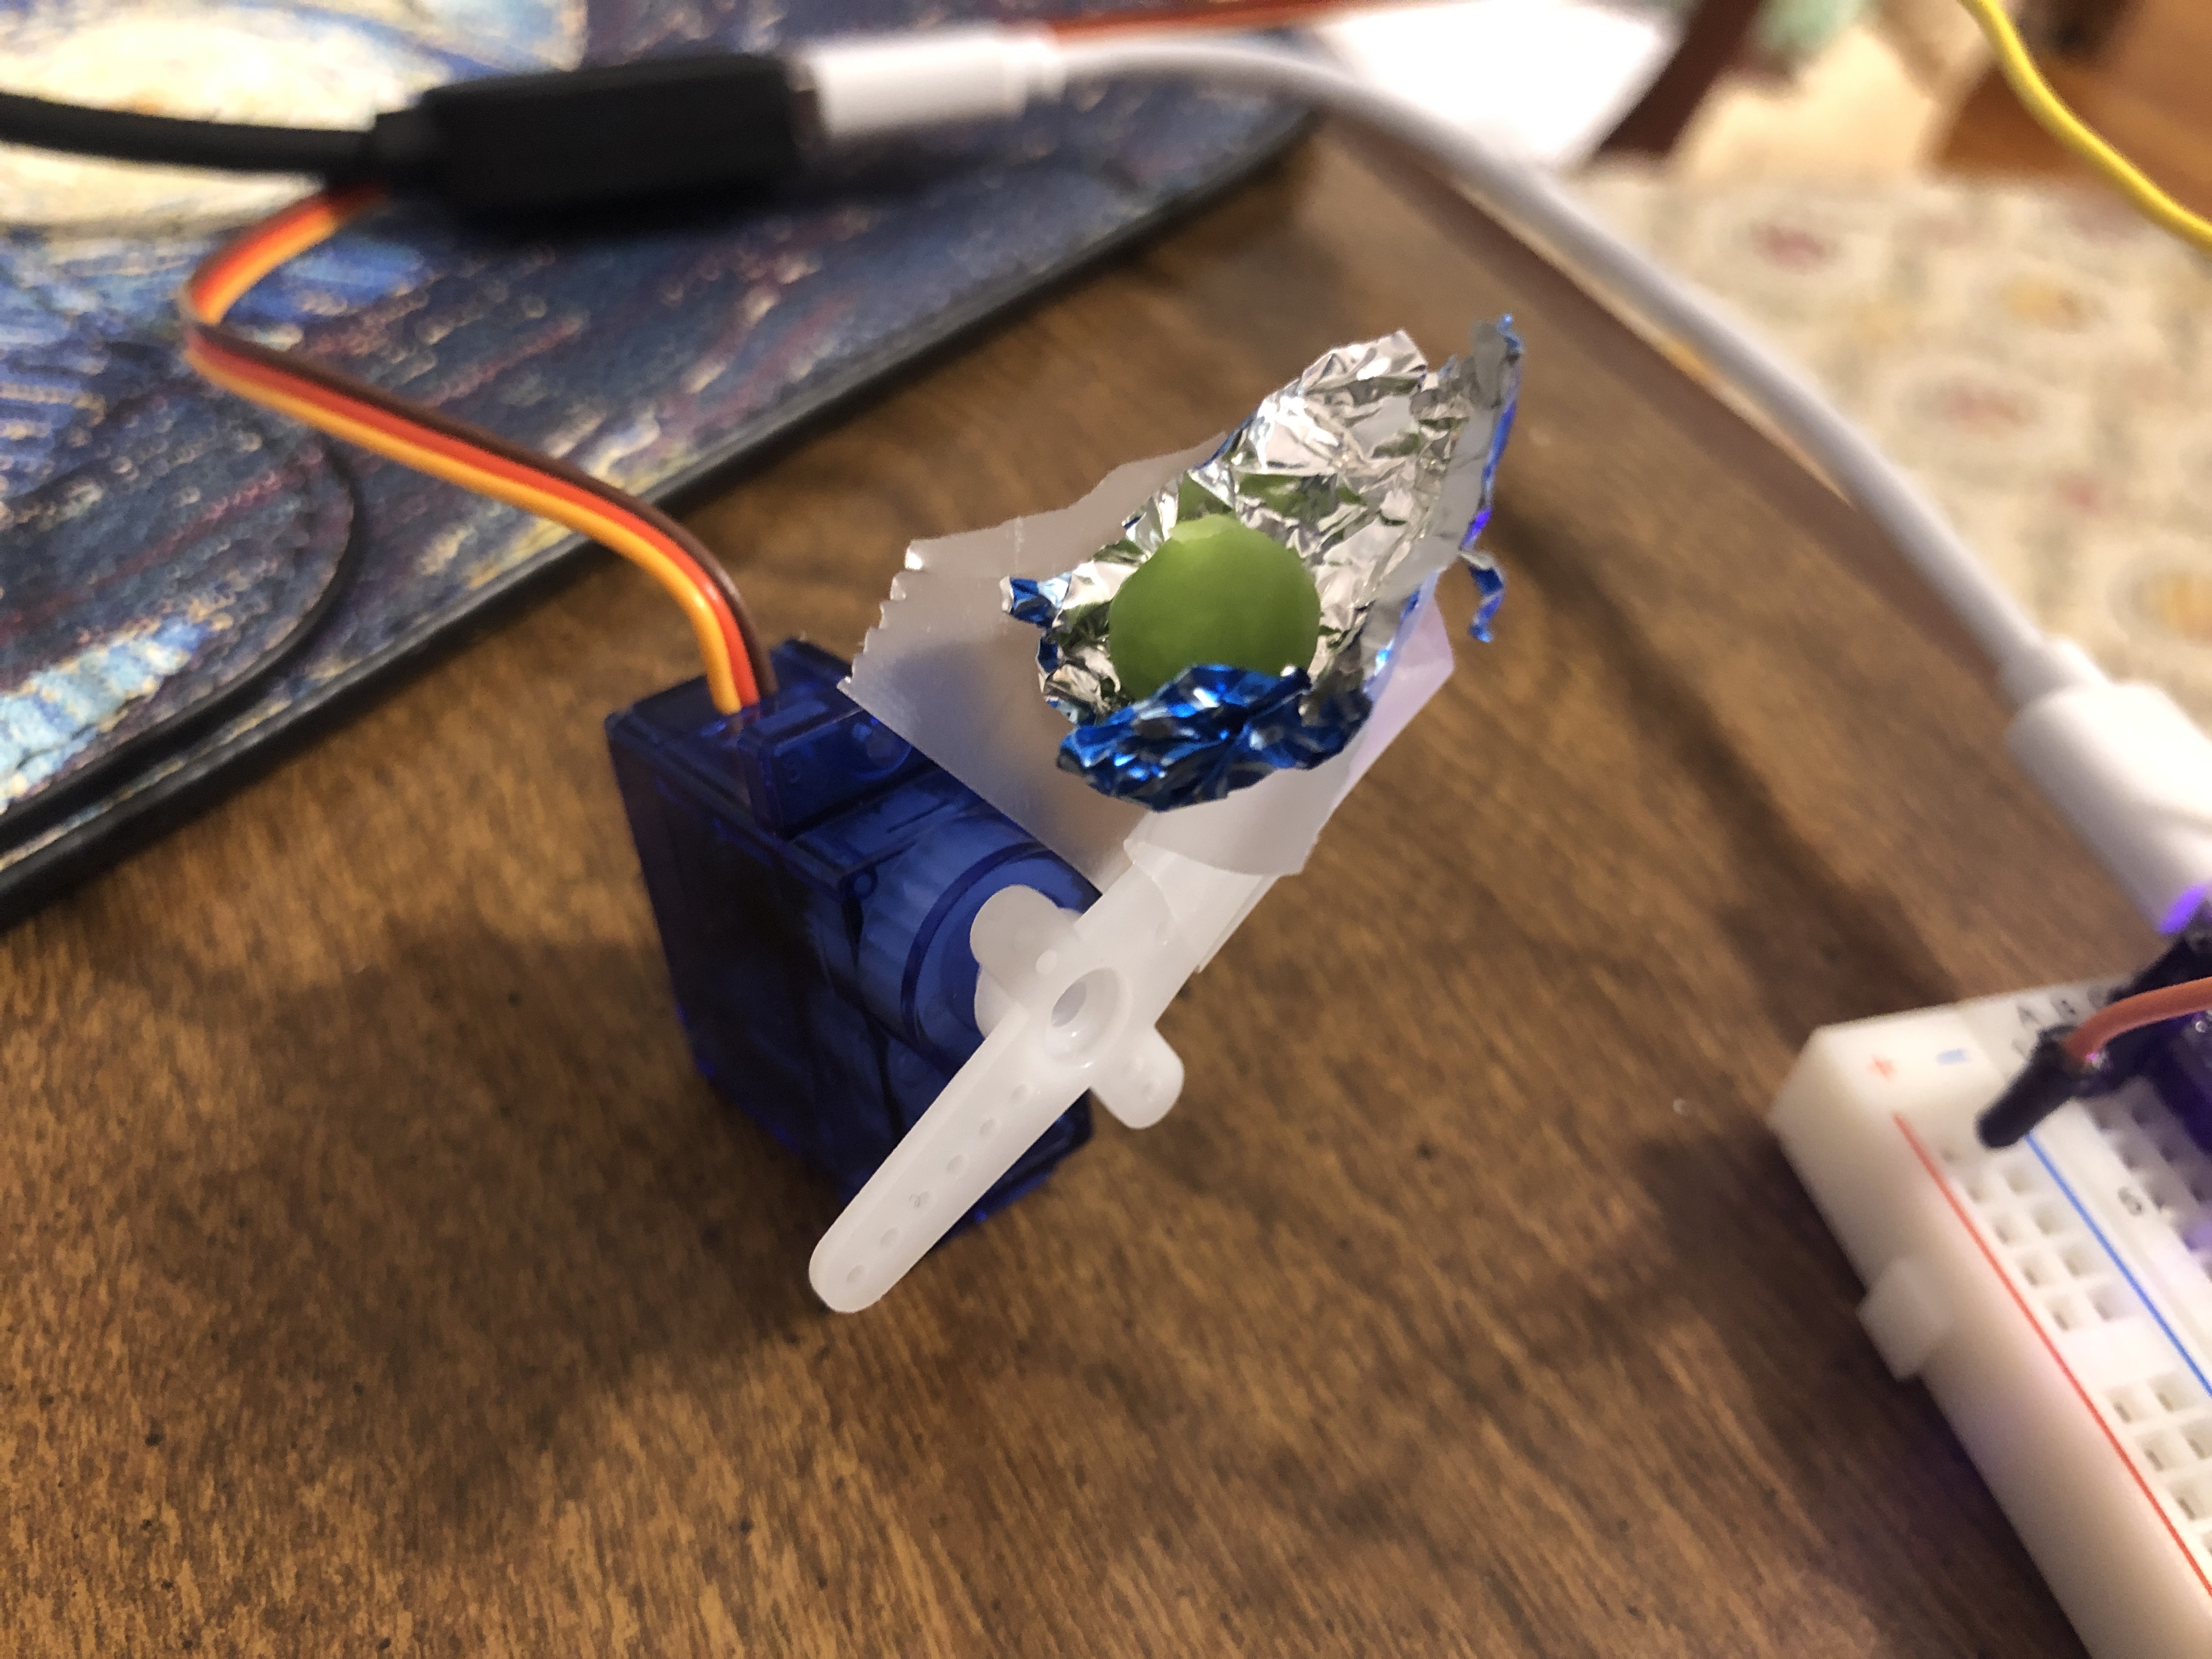
Initially, I had some trouble because I was trying to transmit UART data over a connection between digital pins instead of the all-important RX and TX pins (this was before I completed the UART tutorial). However, once I squared this all away and used two ItsyBitsys for consistency, I managed to get my mechanism up and running. Essentially, the logic flow is as follows: the potentiometer sends a value via UART from the transmitting board to the receiving board. This value is rescaled into a "degree" count and stored as a new variable that's put inside the myservo.write() function. Meanwhile, the button's input is read digitally and transmitted through another wired connection between pins 7 and 9 between the boards. When it's pressed, the catapult is flung from the starting degree specified by the potentiometer. Once the catapult has flung the ammo, the fulcrum returns to its resting position. The image to the right is an early form the catapult took, where I created a little nest for the ammo (being none other than Le Seur peas) to sit in. Below is the code I used; my transmitter code is available for download here and my receiver code is available here!
    /// TX Code ///

    const int out_pin = 9;
    const int button_pin = 7;
    const int pot_pin = 4;

    void setup() {
      pinMode(button_pin, INPUT_PULLUP);
      pinMode(out_pin, OUTPUT);

      Serial.begin(9600);
      Serial1.begin(9600);
    }

    void loop() {
      int pot_value = analogRead(pot_pin);
      Serial.println(pot_value);
      Serial1.write(pot_value/4);
      int buttonState = digitalRead(button_pin);
      Serial.println(buttonState);
      digitalWrite(out_pin, buttonState);
      delay(10);
    }

    /// RX Code ///

    Servo myservo;

    void setup() {
      pinMode(7, INPUT_PULLUP);
      myservo.attach(9);
      Serial.begin(0);
      Serial1.begin(9600);
    }

    void loop() {
      Serial.begin(0);
      Serial1.begin(9600);

      while(!Serial1.available()) {
       // while Serial1 feed isn't available, do nothing
      }

      byte rec_byte = Serial1.read();
      int degree = rec_byte*90/255;
      Serial.println(degree);
      if (digitalRead(7)) myservo.write(degree);
    }
This ended up working rather well! My goal was to use the potentiometer input to adjust trajectory and the button to fire the catapult, and the explosivity and flexibility of the servo really allowed both to happen. My first pass just attached the pea in a little 'nest' (let it be known: it's made out of a chocolate wrapper) at the end of the plastic servo arm, but I decided to extend the fulcrum for dramatic effect and farther travel. This I found truly exciting and thought that it merited a video scored by the band "Europe" (found at the bottom of the page).
Once the code was compiled and did what I wanted it to do, I did some fine-tuning to make proper adjustments to the code to fix the degree read from the potentiometer and manually adjusted to plastic turbines to properly fling the peas. The code also resets the fulcrum to its starting position, priming it to be loaded with more peas to ceremoniously fling. Naturally, I called my entire family in to behold the final product.