Week 2: 2D Design & Cutting
Doge Press-Fit Kit (3Doge)
This week's task was to design and laser cut a press-fit construction kit from cardboard. After snooping around the internet (namely Pinterest) for a bit, I decided I wanted to make a press-fit animal made of interlocked slats to create a convincing 3D model upon assembly. As per usual, I derived my inspiration from internent memery, and set out on my noble quest: the construct doge out of cardboard.
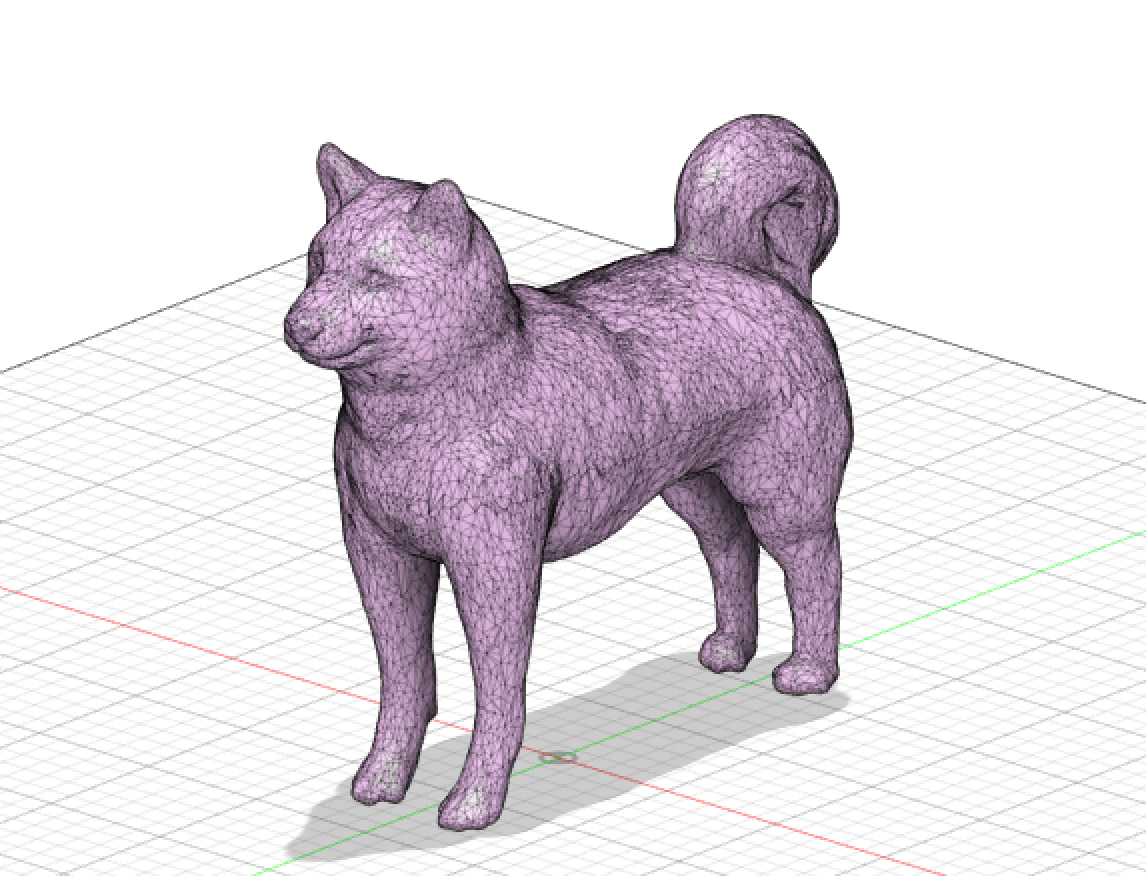
I set out to the mercantile epicenter of all things 3D (TinkerCAD) and found a gloriously uncopyrighted 3D model of doge (with all the trappings of the infamous meme) that I could import into Fusion 360. Strictly speaking, this is a model of a Shiba Inu dog, but I like to think this was doge in his fullest form. Pictured at the left in polygon mesh.
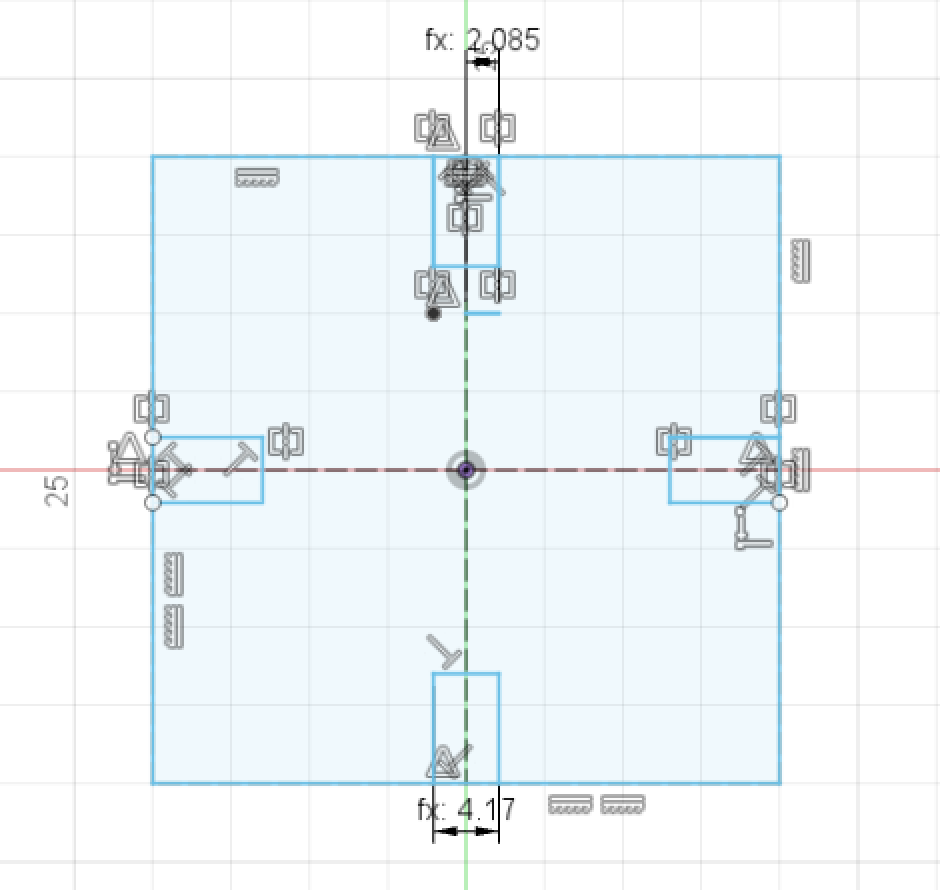
After doing some research on how to bring doge to life, I happened upon a Fusion 360 add-in called "Slicer," which can identify the contours of a 3D model and help create an array ready for the laser cutter. This proved fully magical, and, with the insertion of material parameters and the desired number of faces on the Y and Z planes, I had an array of 52 pieces ready to cut. I was in the market for a mid-sized doge, so I settled on a height of 195 mm (at his highest point).

After extracting all 52 pieces (big and small alike), I set to work assembling doge, using the handy-dandy coding system visible on each piece, which corresponds to the orientation and dimensionality of the piece (along the arbitrarily-decided Y or Z axis). This is just to say: Slicer is an amazing piece of software. Despite its precision, good old-fashioned tacky glue was required at some points to anchor in the smallest parts (being the nose and the paws). At the left is the final product beside the original contoured 3D model in Slicer!
Sphere Press-Fit Kit
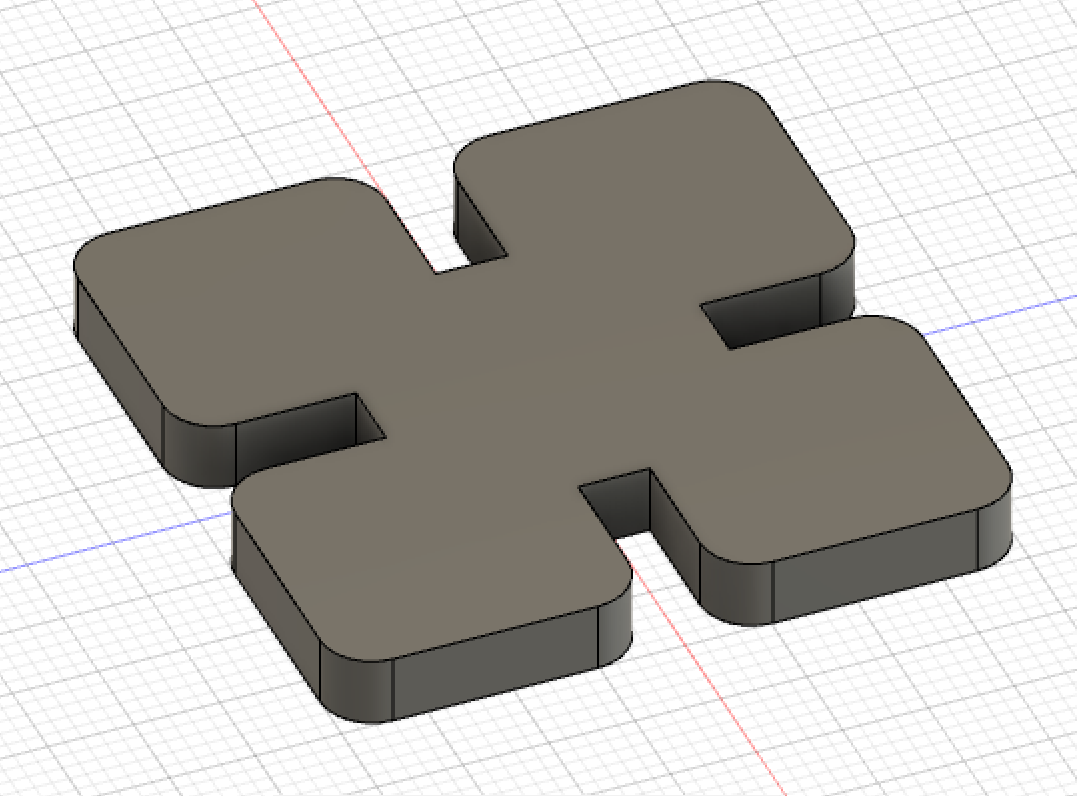
While I had a grand old time creating 3Doge, as I've christened him, I wanted to work more in Fusion 360 and learn how to properly parametrize sketches and design them from scratch. So, I decided to make doge a ball made of two separate pieces -- arcs and grid-like connectors.
At the left is the sketch of the latter; I set thickness to 4.2 mm and kerf to 0.3 mm as initial estimates (which serendipitously ended up working out!). I hoped to use these to connect all the arcs that would form the curved outer shape of the sphere.
I then extruded the desired geometry and added 3.00mm fillets (as visible to the right). Pretty quickly, I realized that I made my slots too deep such that when the arc pieces were connected, they would probably interfere with each other and not link properly. So I went back to the literal drawing board (er, sketch board I suppose!) and adjusted the slots' length to be about an eigth of the entire shape's length instead of a fourth. I then re-extruded, re-filleted, and projected this to make the final DXF file.
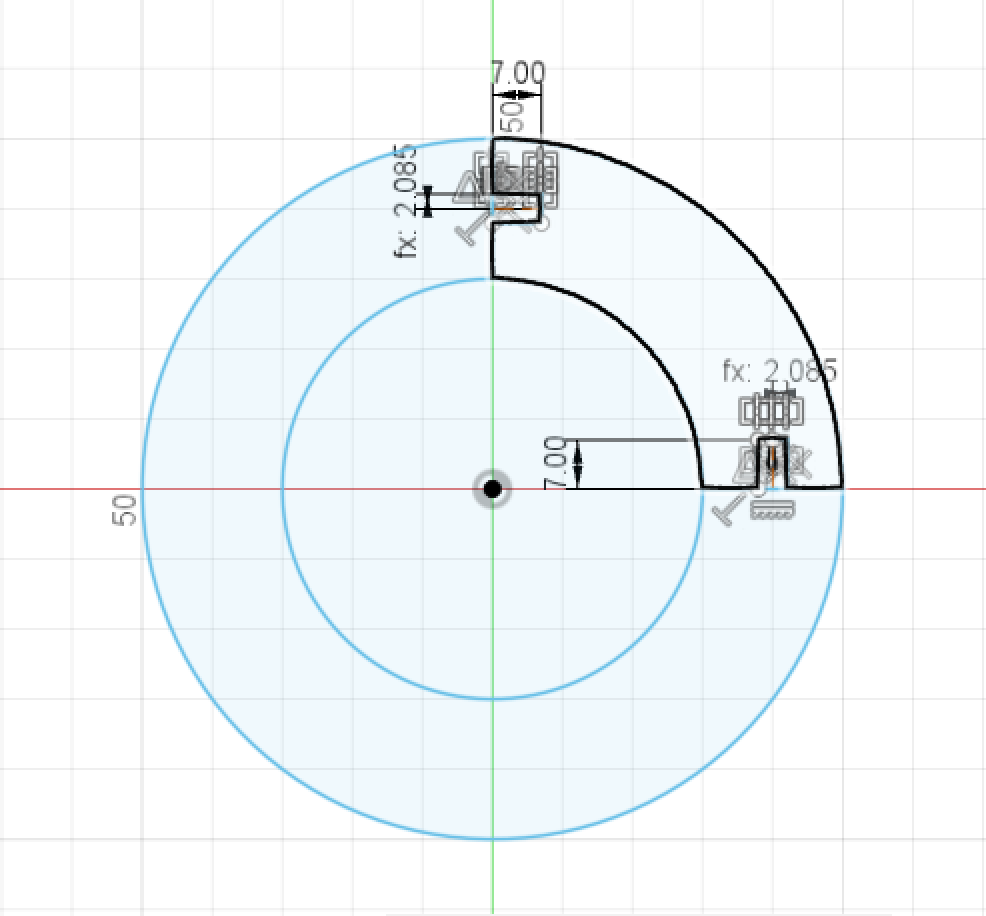
I then turned my attention to making the arc pieces. I constructed these by making two concentric circles and then isolating the top right quadrant with solid lines. I made slots that were commensurate in size to those in my grid piece. I extruded and projected the piece (this time not filleting), and then exported the DXF file.
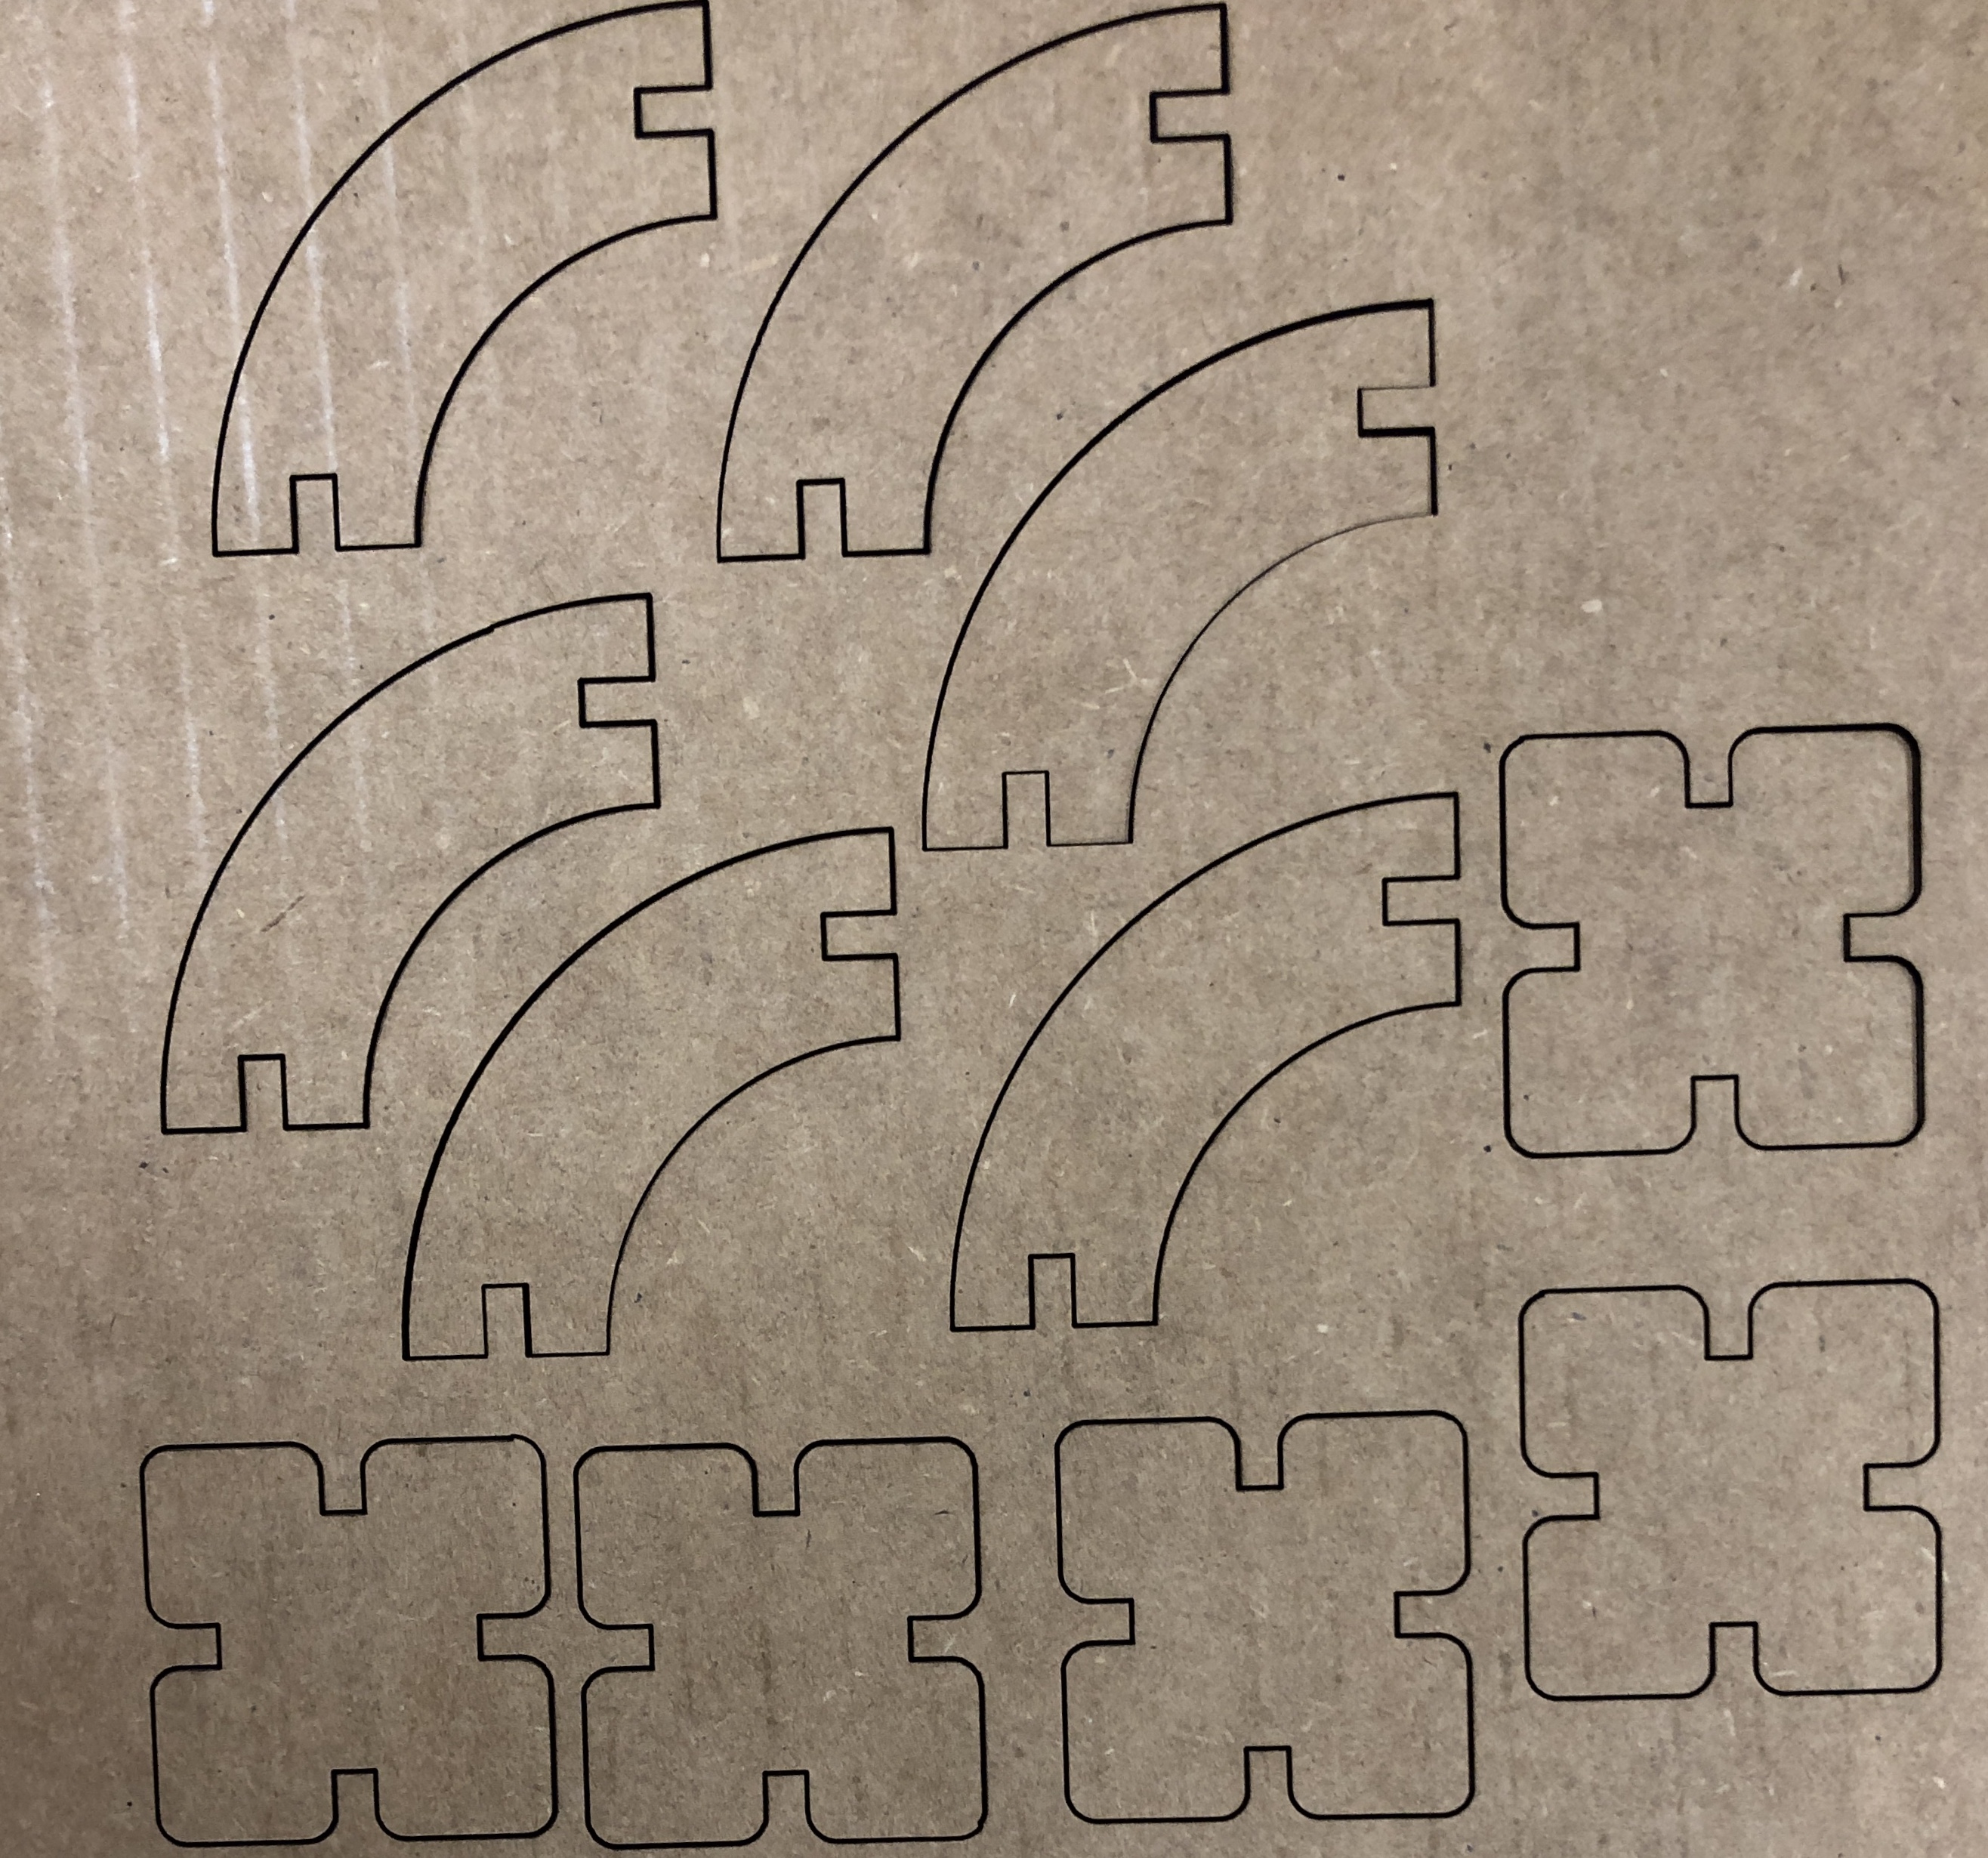
At the laser cutter, I made an array of 12 arc pieces and 6 grid pieces for constructing my sphere. I tested out one of each piece initially to ensure there was a snug fit, and as with doge beforehand, I was lucky on the first go-round! I then printed the rest of my array and assembled the sphere.
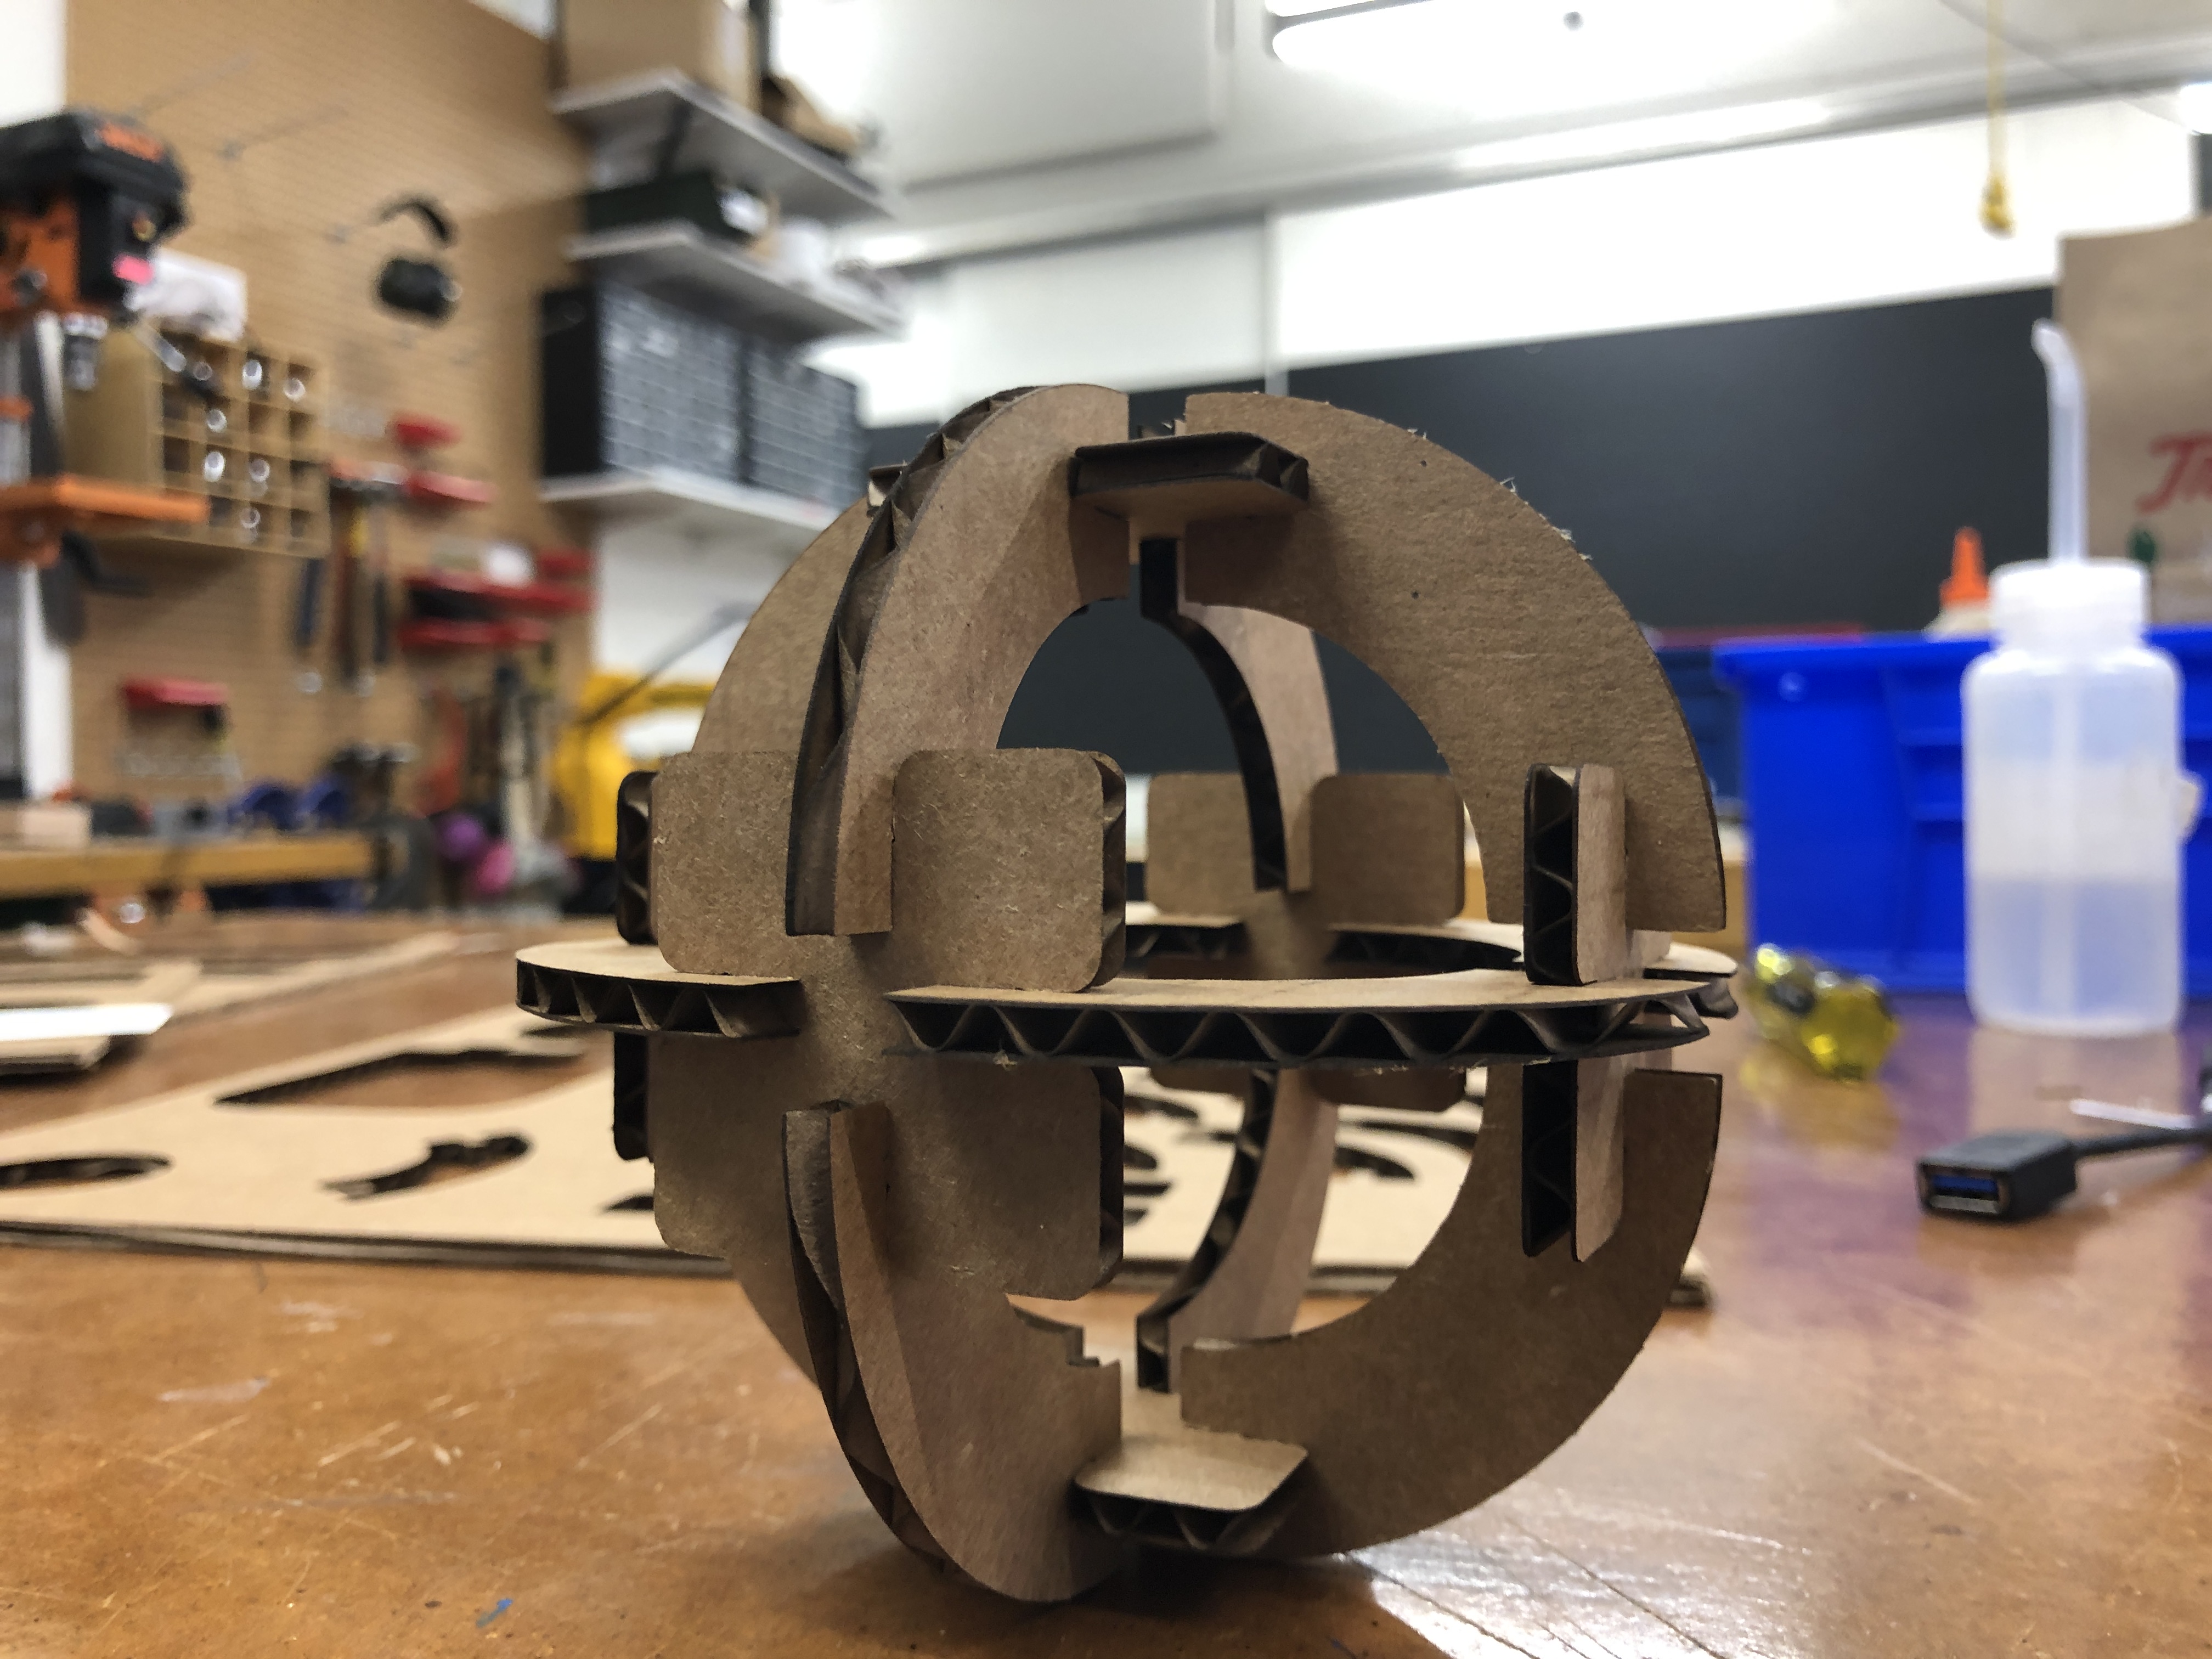

At the left is the final product! (Pictured both with and without doge) Future plans include ensuring my real life dog doesn't eat it and/or converting it into a Christmas ornament.